Getting Started
Setting up the Dezgo API is pretty straightforward. Follow the steps below to get started.
1. Create a Dezgo account
If you don't already have a Dezgo account, you can create one here: https://dezgo.com/account
You will need to enter your email address and click on the login link received in your email.
2. Create an API key
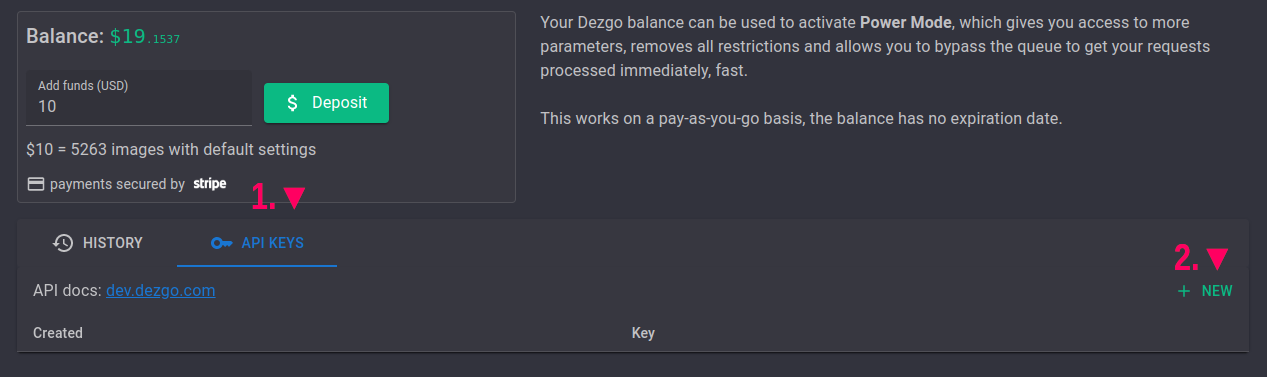
- In your account dashboard, click on "API Keys" then "New"
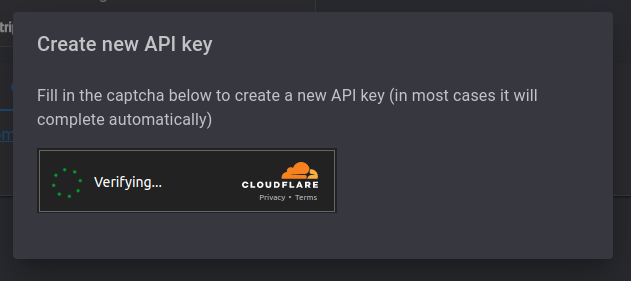
- Wait for the captcha to complete. In most cases it's fully automatic, and if not, you just have to click a checkbox (no need to identify fire hydrants and red lights).
- Copy your API key and store it in a safe place.
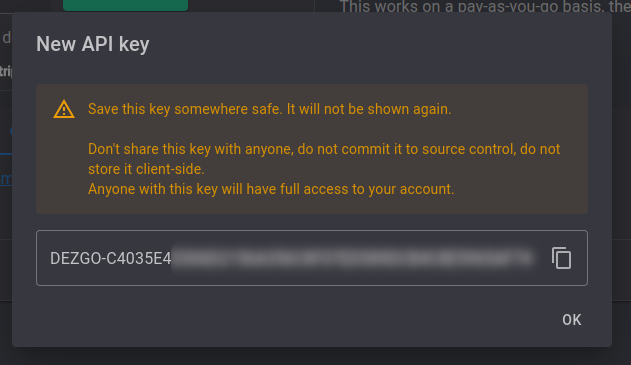
Your key is now ready to be used. It will appear in your API keys list where you'll be able to revoke it at any time.
3. Top up your account
In your account dashboard, you will see a "Balance" section.
Enter the desired amount (minimum $10) and click on "Deposit". Follow the instructions on the payment provider's website to complete the transaction.
🎉 Congratulations! You are now ready to use the API.
Tip
You can keep an eye on your remaining account balance by using the endpoint /account/tx/last.
This endpoint returns the last transaction in your account, with the `balance' field being your current account balance in USD.
4. Use the API
Now you're ready to write your first API request, in the language of your choice.
4.1. Endpoint
The base API endpoint is: https://api.dezgo.com/
4.2. Authentication
All API requests must be authenticated with your API key, by specifying the X-Dezgo-Key header.
4.3 Request formatting
The API supports multiple request body formats. You can choose the one that best suits your needs or the programming language you are using.
| Content Type | Description |
|---|---|
application/json (recommended) |
Provide a JSON object that specifies each parameter. Binary data (such as input images) must be encoded as a base64 string. We recommend using this format as it's generally the easiest to work with in most programming languages/frameworks. |
application/x-www-form-urlencoded |
This can be used to send simple parameters, but it is not recommended for sending binary data. |
multipart/form-data |
This can be used to send all kinds of parameters, including binary data. This is generally the hardest format to work with, the Content-Type header must include the multipart boundary string, so it's preferable to use a tool/framework that does this for you. |
Note
Do not forget to specify the Content-Type header accordingly.
Tip
For most applications, it's generally better and easier to just use JSON.
Form-urlencoded/Multipart can be used for simple curl commands or with raw HTML forms.
4.4 Response
Headers
The following header is returned in all responses:
x-dezgo-auth-userid: the ID of the authenticated user.
The following headers are returned on responses that started a job:
x-dezgo-job-amount-usd: the amount charged for the current job, in USD.x-dezgo-balance-credits-usd: the sum of all your credit transactions (like top ups) until now, in USD.x-dezgo-balance-debits-usd: the sum of all your debit transactions (like requests) until now, in USD.x-dezgo-balance-total-usd: your current balance (credits - debits), in USD.x-dezgo-balance-index: the index of the latest transaction.
Body
The response body will be a raw binary image in the PNG file format.
There is no need for JSON deserialization or Base64 decoding.
5. OpenAPI Specification
The API is fully documented using the OpenAPI Specification (formerly known as Swagger). You can find the specification here: /openapi.json
You can use this specification to generate client libraries for your favorite programming language.
A web-based interactive documentation of each available endpoint is also available here: API Reference
6. Migrating from RapidAPI
If you used the RapidAPI version of the API, it's very easy to migrate to the new version and should only take a few minutes. Everything works in the exact same way, the only difference being the base URL and auth header.
Note
Don't worry, there's no rush! The RapidAPI version will continue to work for the foreseeable future. But it won't be updated with new features.
🏆 Benefits of migrating to the new API:
-
New features (with more to come!):
- Support for LoRA models: enhance the AI's creativity with tens of thousands of extensible style, concept & object plugins.
- New endpoints:
text-inpainting,edit-image,controlnet - New models: the breathtaking high-resolution model Stable Diffusion XL, as well as Absolute Reality, Dreamshaper, CyberRealistic, ICBINP
- New sampler:
dpmpp_2m_karras(better images with less steps)
-
Pay-As-You-Go: no more monthly subscriptions, no more expiring credits, no more constantly upgrading/downgrading plans as your usage fluctuates.
Steps to migrate:
- Make sure to follow the steps above to create an account and an API key.
- Then, replace the following in your code:
- Replace the base URL from
https://dezgo.p.rapidapi.com/tohttps://api.dezgo.com/ - Replace the
X-RapidAPI-Keyheader withX-Dezgo-Key, and use your new API key as the value (you can find it in https://dezgo.com/account)
- Replace the base URL from